|
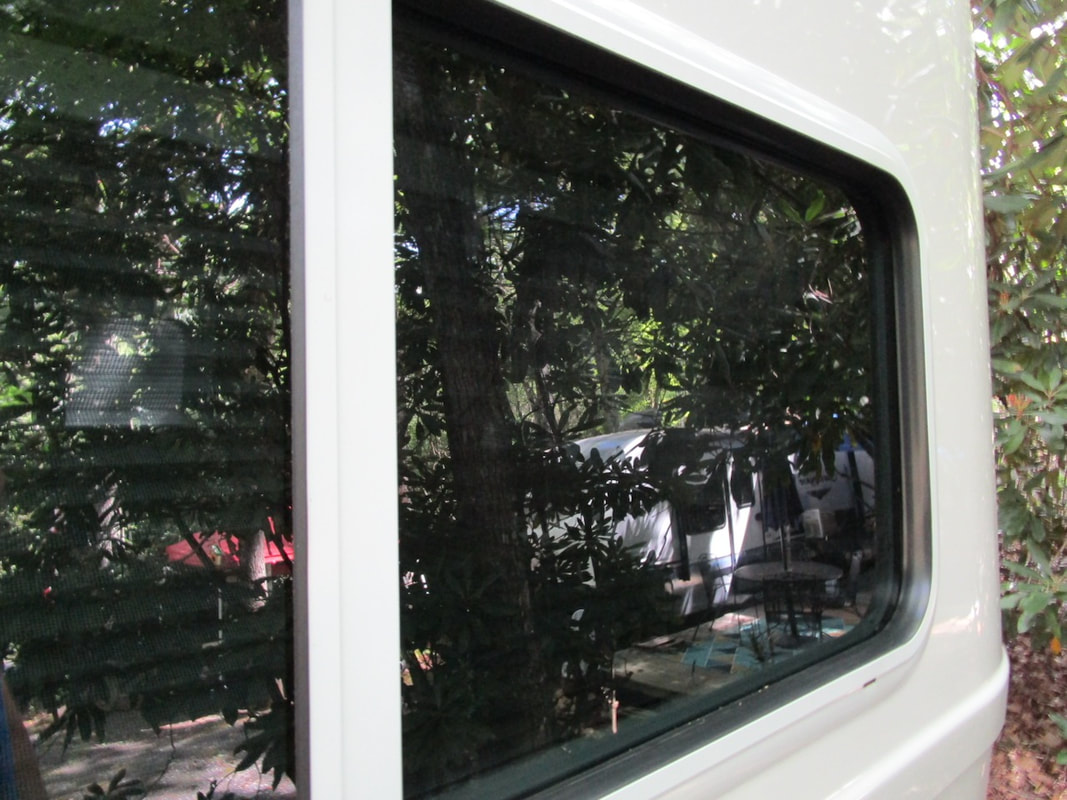
Sharon and I discovered early in our first season in The Holler that the humidity and moisture in the mountains of the NC High Country could turn anything white and rubbery into a nasty, gross mess very quickly. In particular . . . the vinyl window seal. Trying to keep that white rubber seal clean proved to be a futile task. It didn't matter how many times mine was sprayed with cleaner and wiped down, the grunge kept growing and growing. Just look at all those mildew spots around the seal! 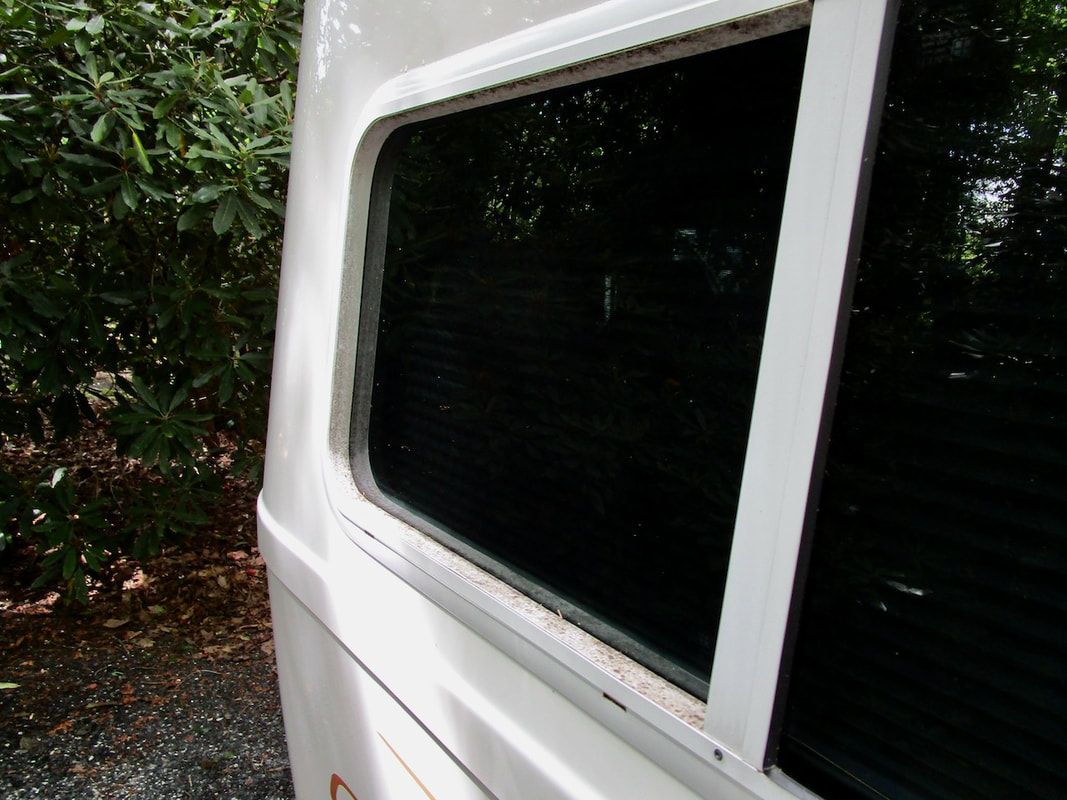 Over on our Oliver Facebook page, there are great Ollie Owners sharing a raft of information. One post was about this problem with the white vinyl seals not staying white. The suggestion was to go with a black seal to hide the dirt. So Sharon copied the information and placed an order back in the winter before our camping season began. We'll share all those details with you at the end of today's post. The vinyl seal, that can be ordered in any length, was delivered quickly from Pelland Enterprises and was very affordable. The replacement project was a totally easy DIY project for us.
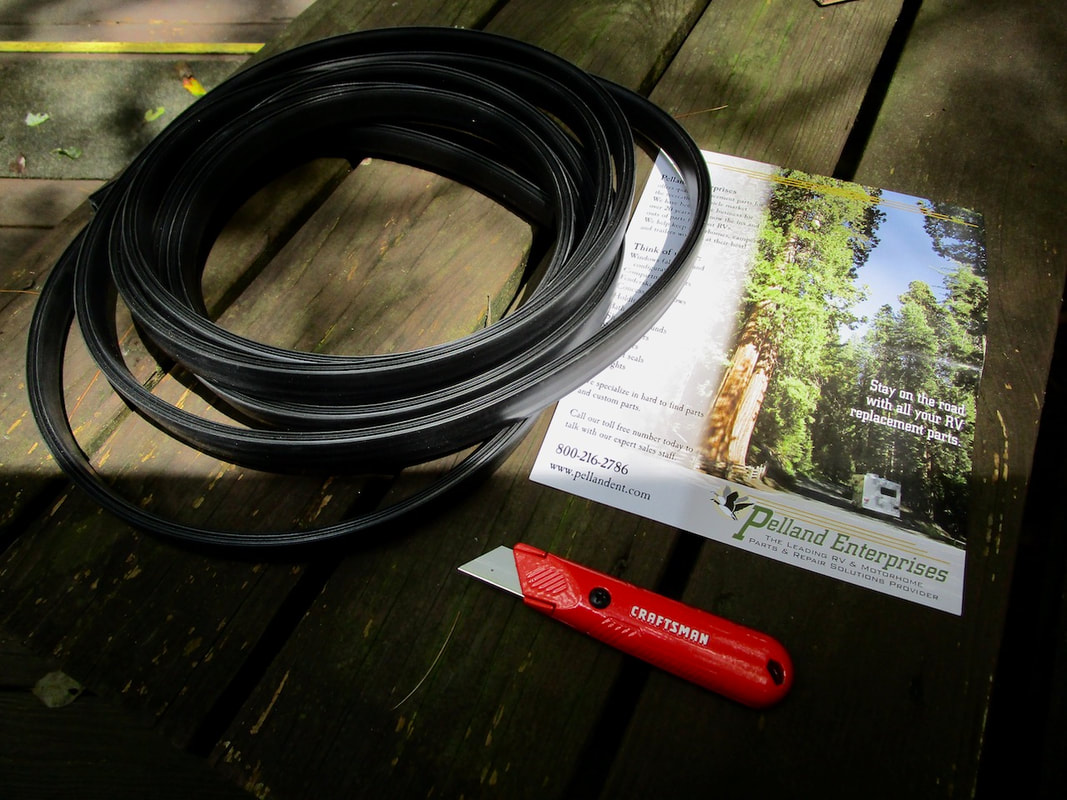
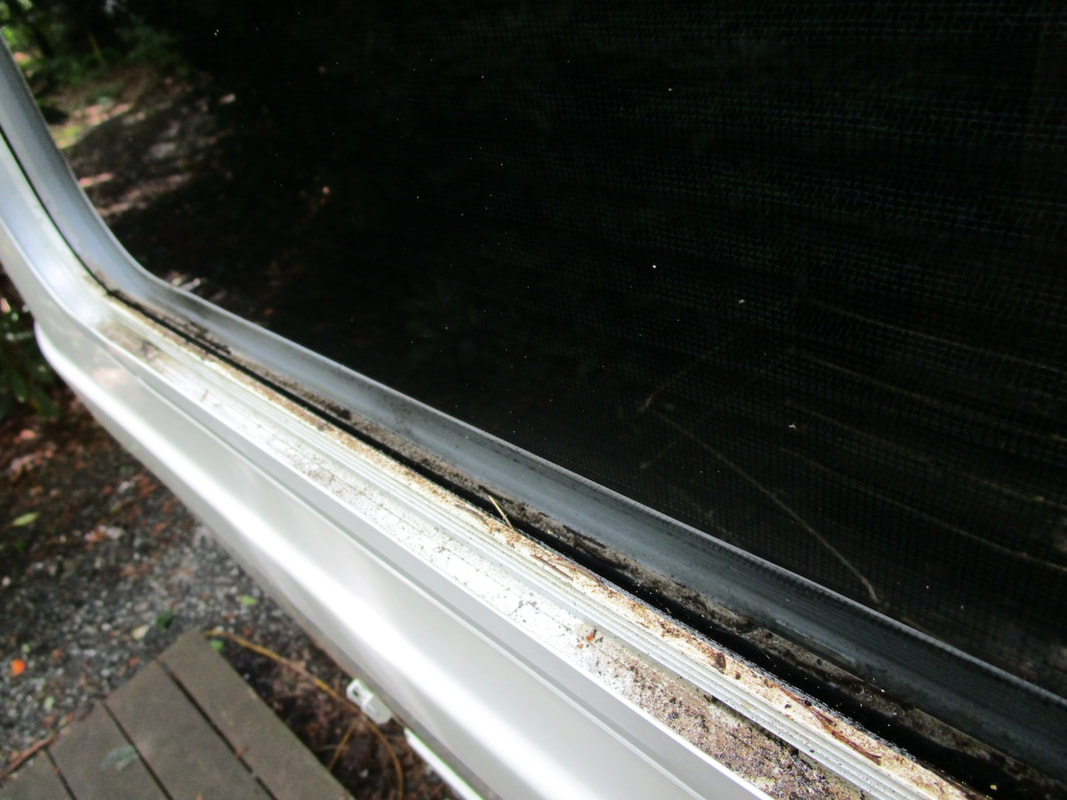
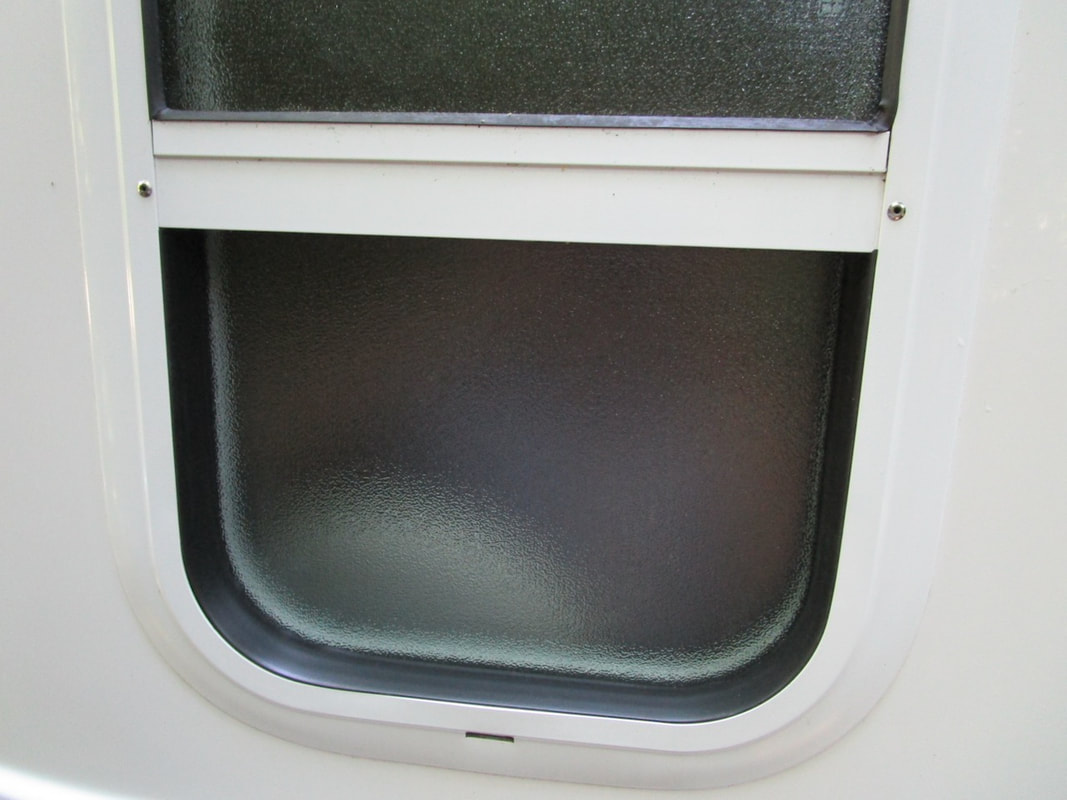
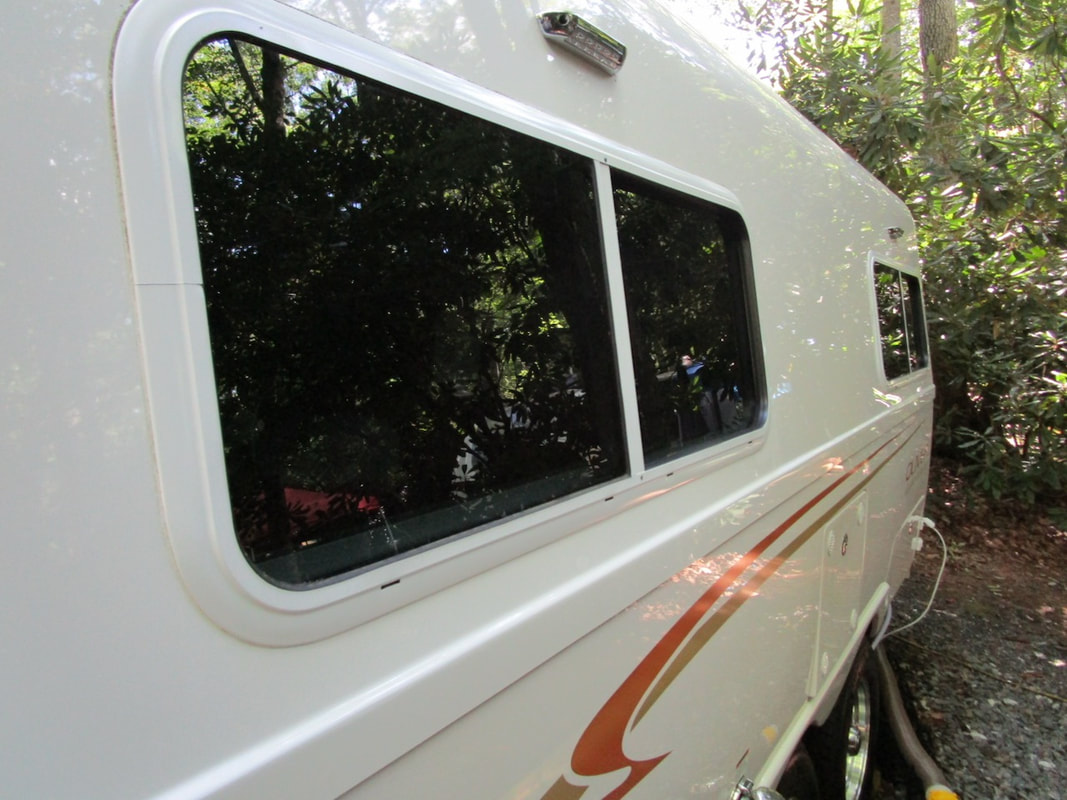
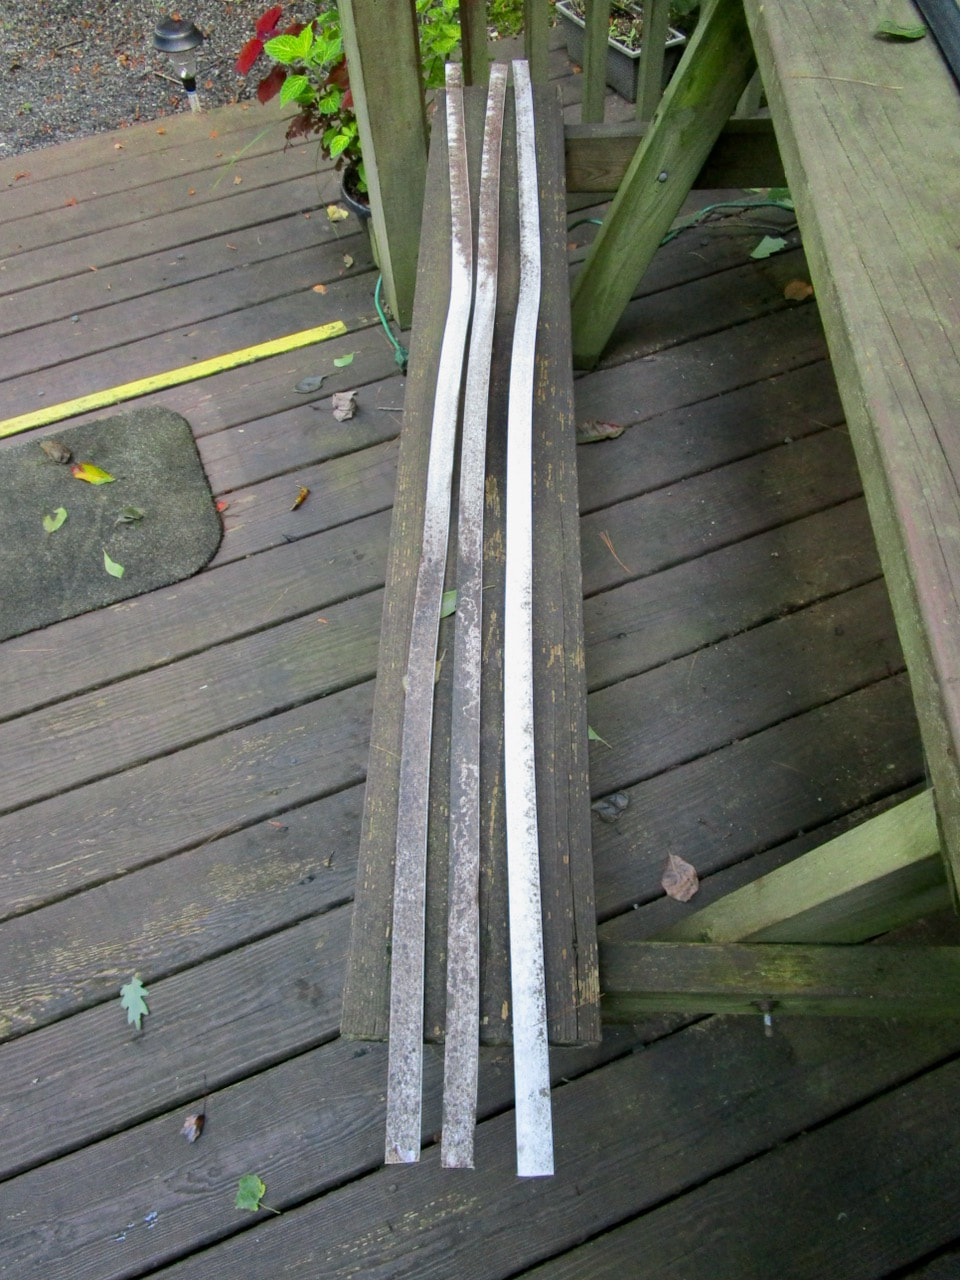
The first thing Sharon did was to pull out the old, stained white seal and get to work cleaning the window tracks. It took some elbow grease, work towels, spray cleaner, and pipe cleaners to get all the gunk out (weep holes too) before installing the new black seal. Next she laid the old piece back to back with the new, added about 1/4" to the length, and cut it at a 90° angle with a box cutter. 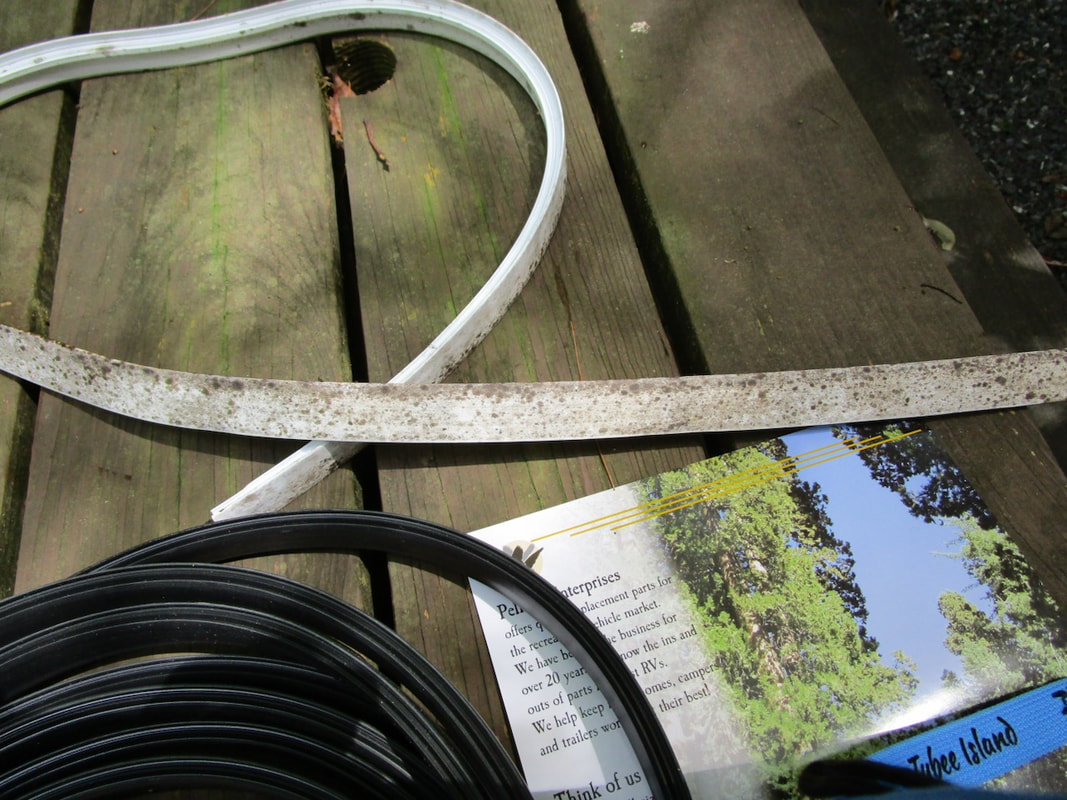 Installing the new black seal was as easy as pie. Simply pushed into place and VOILA, we had a sharp-looking new window!
Pelland (Industries) Enterprises
1/2" Glass Vinyl Seal #109-376 18' ordered (perfect for 4 windows on the Elite II with enough leftover for a replacement if needed in the future) www.pellandent.com
0 Comments
Leave a Reply. |
AuthorWrite something about yourself. No need to be fancy, just an overview. Archives
July 2020
Categories |
 RSS Feed
